Thursday, December 20, 2012

Here are a few quick pictures I took of some lessons we have done lately.
 We talked about India and did animal projects: Tigers- 5th grade, Festival Elephants 4th grade, Peacocks 3rd grade. You may have noticed that I post "I can " statements with all of my displays this year. It is easy to do and I have gotten lots of comments like- "I never knew art had standards or objectives." Now they know.


 First grade did an awesome job on this printmaking and drawing lesson. I made it in a two day process, day one we printed the three colors for the branch by rotating three times. Then we had time to practice drawing and coloring cardinals. The second day we redrew our cardinals together, then colored and decorated with candy canes and ornaments. I was so proud of them!

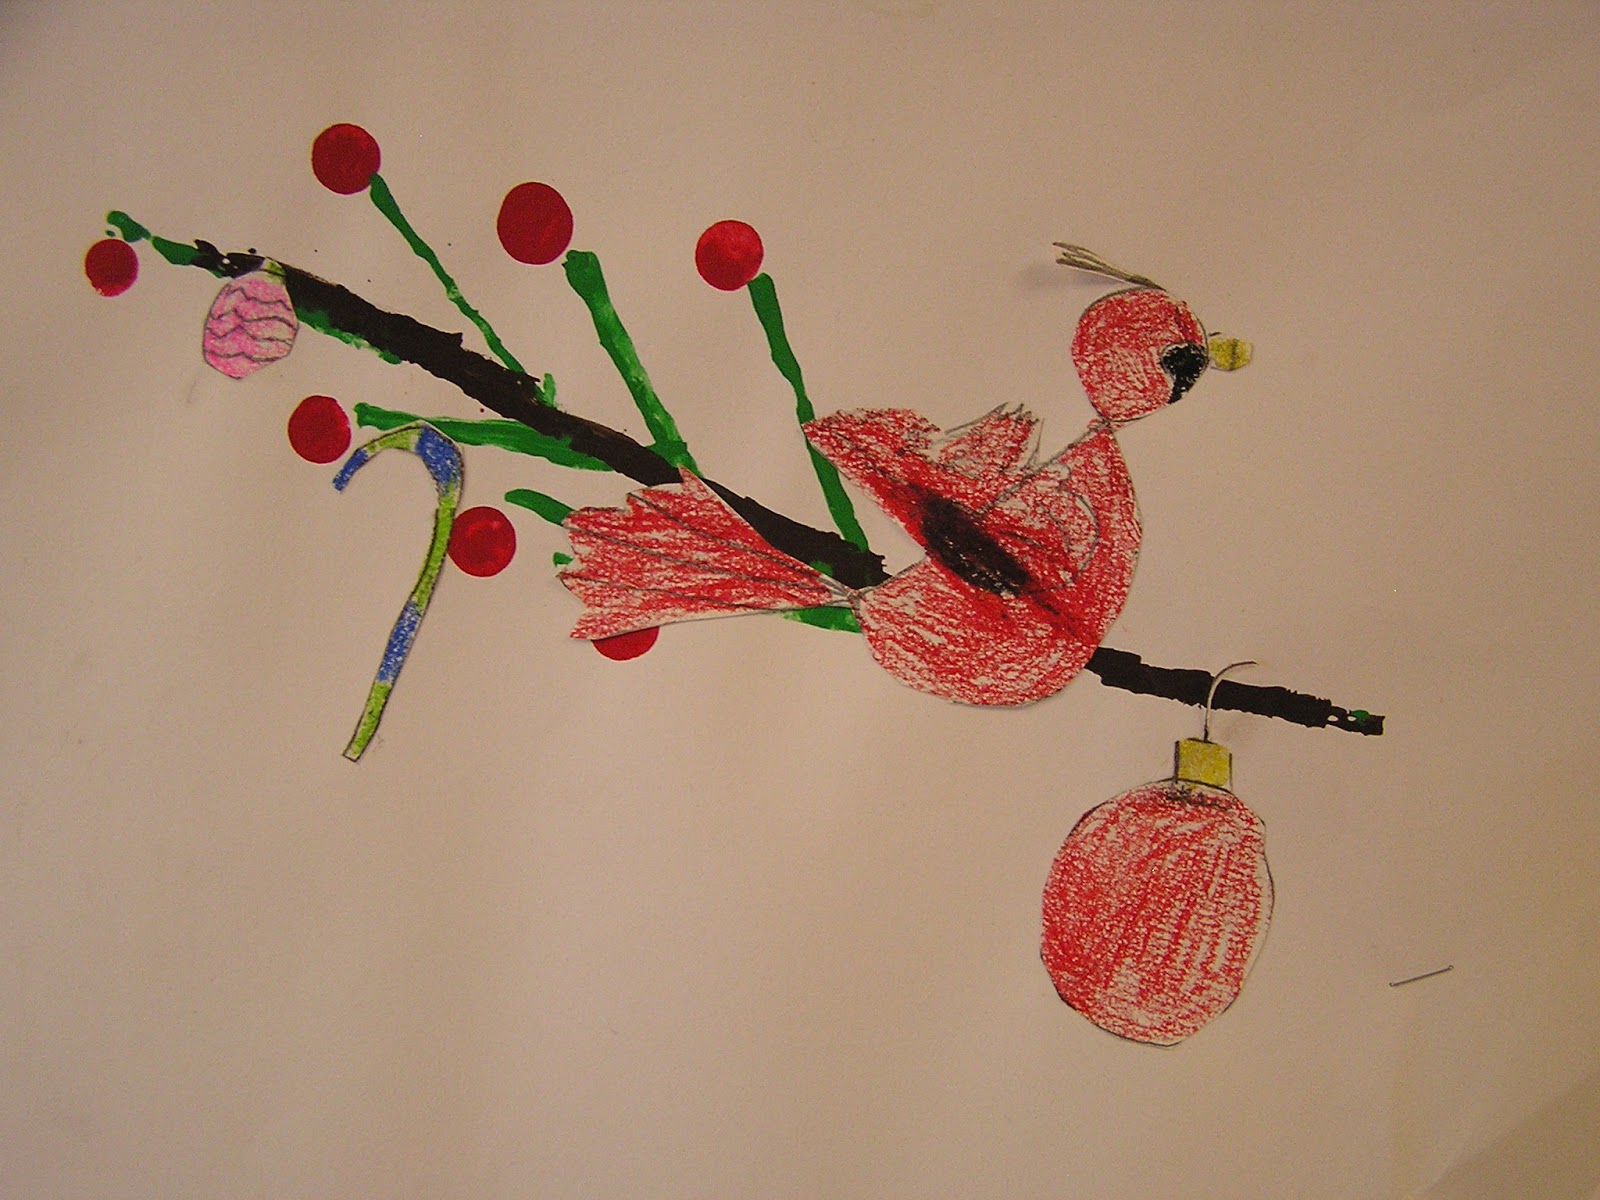
Fifth grade did oil pastel poinsettias. And unfortunately I didn't get any pictures of the 4th grade 3D Candy Cane drawings or 2nd grades Winter animal portraits. (Then even had hats and scarves) lol

Wednesday, November 21, 2012

Monday, November 12, 2012

Third Grade Listened!

Last week when I was hanging these pictures on the wall I got several comments on how well they third graders did. My reply, "I know, they really listened."
What I mean is as I went step by step how to do the trees they were right there listening and actually doing what I was showing them. They haven't been the best class this fall but for some reason they really did great on these trees.
I must say these really brighten our hallway!


Monday, October 22, 2012

Piet Mondrian

These are a few shots of the first class of kindergarteners, Piet Mondrian pictures. It was a quick one day (50 min) project that we did a couple of weeks ago. I originally saw the idea at Teach Kids Art, but wanted to use paint instead of coloring.

I introduced him showed some of his work, talked about what they found in the artwork. While we were putting our names on the back of the paper, I also wrote Piet Mondrian on my paper and a bunch of the kids added that to their paper too. I just love the way the automatically copy it all down. So eager to learn.
Then we went to work.


Peace-

Saturday, October 13, 2012

China

Lately we have been studying Chinese architecture, Blue Willow china, and painting. It has been so fun. Here are a few pictures of some of the projects. The Blue Willow china plates I saw on line probably 4.5 years ago. Actually about the time the Summer Olympics were in Beijing. I did a few China art lessons then but recently I was inspired to do it again this time and add several new ideas.
Take a look.


Peace-

Monday, October 8, 2012

It's Almost Time!

 Each year I do a big fall project with kindergarten. I call it "Pumpkin Pie on a Plate". I always love how this turns out. Here is the post on how I did it from 2010. I will post new pictures later this month when we get them done. I will only need two class periods since they are 50 minutes long at my new job. We had plenty of time do both the painting of the plate and decorate a circle for our "plate".
Next class I plan on making the patterns on the place mats. Hopefully we can also cut & glue the piece of pie on the plate/place mat and be done! Can't wait to hang this years batch.


Monday, October 1, 2012

What Is It?

This is a post I published originally in November 2010.
Enjoy--


It is shaving cream! I had too much fun doing this project with 2nd grade. I couldn't wait until they got to my room. They were going to love this technique.

The class before this one I had them practice drawing fall leaves on manila paper. The final leaves were drawn again on manila paper; and then traced with a Sharpie marker.
 The next class period we reviewed 'warm colors'. Then I sprayed cheap Barbasol shaving cream right on to the table. Most of the kids have used it to spread on a table and write in it. But I spritzed thinned tempera paint (liquid watercolor is preferred) onto the shaving cream! Right on top! They were surprised to see that move.
As you can see we laid the paper directly down on to the top of the paint/cream.
Gently we used just our finger tips to help the paper make contact with the paint. No smashing or you get a huge mess! :)
Carefully peel the paper off of the cream and lay down in a clean spot. Hold the paper with one finger and use a plastic paint scrapper (3 for $2) to "shovel" off the cream. I used the phrase "shoveling off" since it is  like shoveling snow away from you. The paper doesn't get very wet just damp so the kids can
easily carry it over to the dry rack.
Now some tips!
  • I used manila but white has a brighter color when it dries.
  • I spritzed the paper until they said "stop". They could use any combination of red, orange, yellow or brown.
  • Cheap WM spray bottles quit working after a while. So we had to use it like a dropper. Still looked cool.
  • Cleans up with a wet sponge.
  • After each print you need to recreate a bumpy texture with the cream. The paint is not suppose to cover the whole picture, just in spots.
  • You can still do this if you travel. Keep the shaving cream in an aluminum pan covered with foil and take it with you!
I originally saw this done at the KAEA Fall Conference in Hutchinson 2009. But I am sad to say I didn't get a chance to try it last year. This year 2010 I attended another KAEA Fall Conference in Manhattan on printmaking and this was shown again. I just love those KAEA teachers and how they share their work!
Give it a try, you'll like it, I promise!

Peace-