Showing posts with label 2nd grade. Show all posts

Thursday, December 20, 2012

Here are a few quick pictures I took of some lessons we have done lately.
 We talked about India and did animal projects: Tigers- 5th grade, Festival Elephants 4th grade, Peacocks 3rd grade. You may have noticed that I post "I can " statements with all of my displays this year. It is easy to do and I have gotten lots of comments like- "I never knew art had standards or objectives." Now they know.


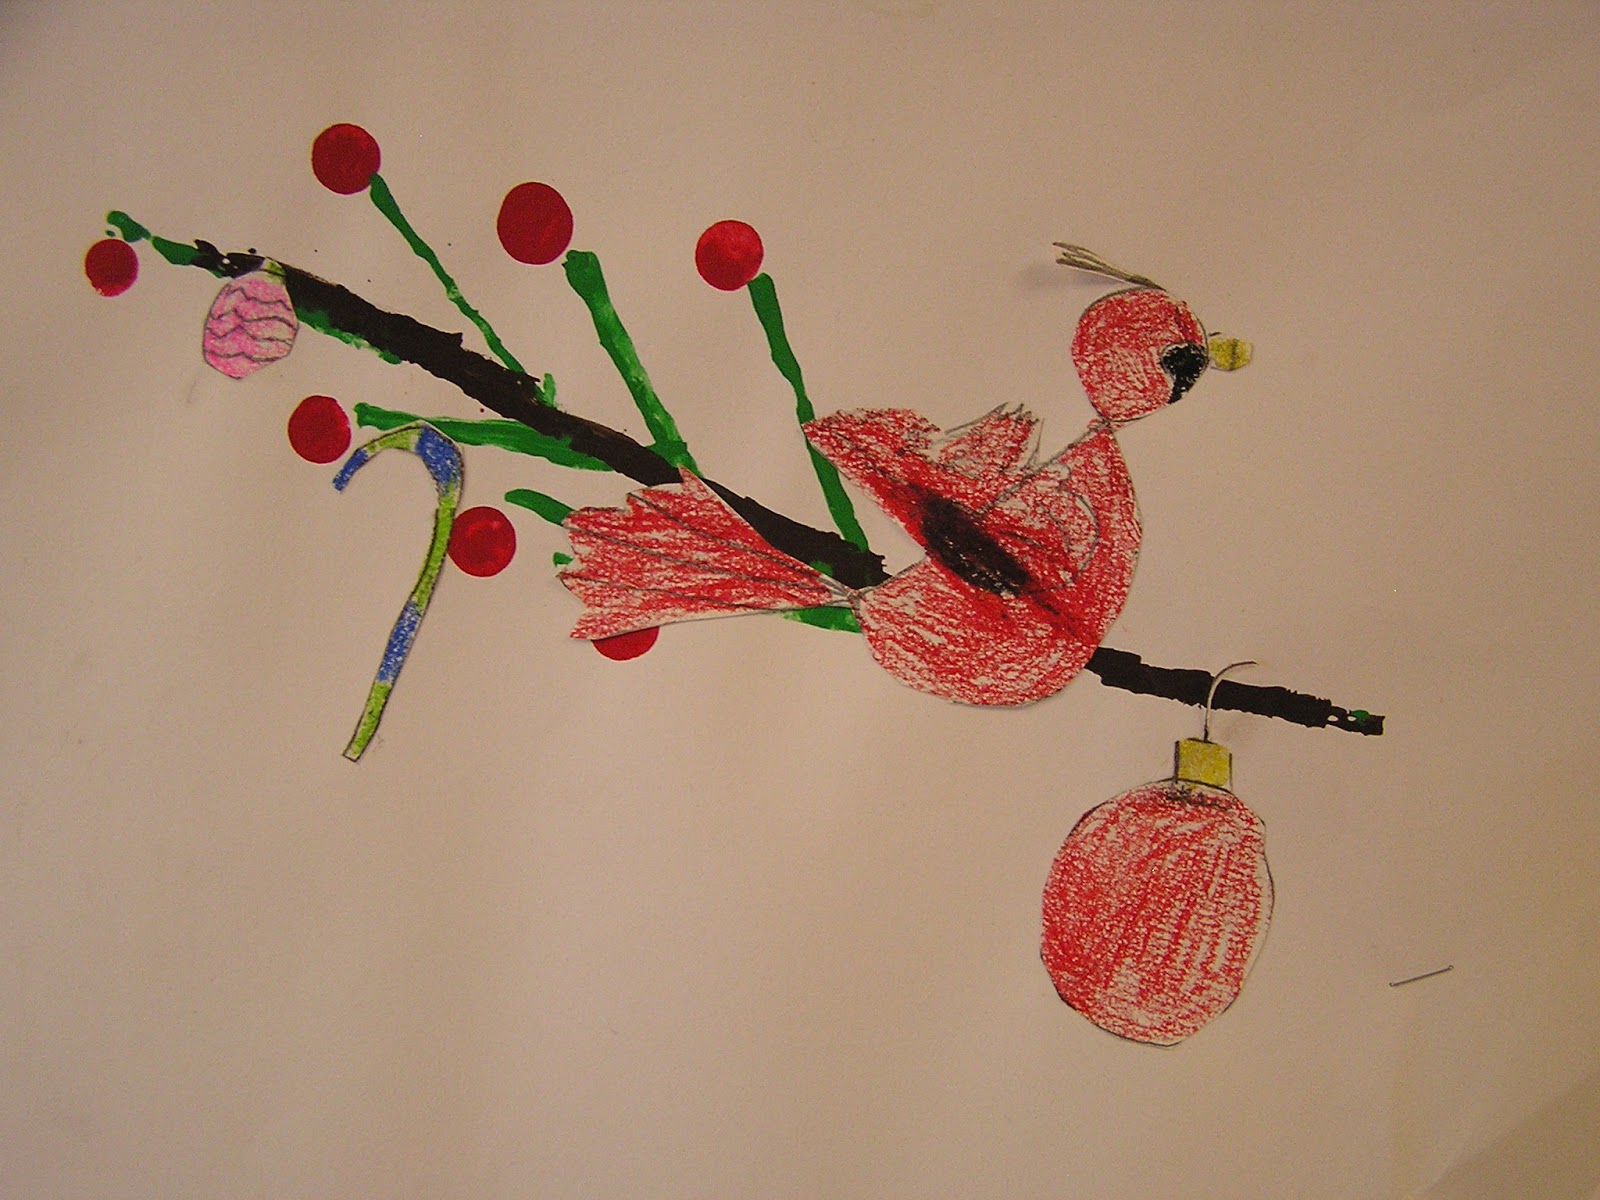
 First grade did an awesome job on this printmaking and drawing lesson. I made it in a two day process, day one we printed the three colors for the branch by rotating three times. Then we had time to practice drawing and coloring cardinals. The second day we redrew our cardinals together, then colored and decorated with candy canes and ornaments. I was so proud of them!

Fifth grade did oil pastel poinsettias. And unfortunately I didn't get any pictures of the 4th grade 3D Candy Cane drawings or 2nd grades Winter animal portraits. (Then even had hats and scarves) lol

Saturday, October 13, 2012

China

Lately we have been studying Chinese architecture, Blue Willow china, and painting. It has been so fun. Here are a few pictures of some of the projects. The Blue Willow china plates I saw on line probably 4.5 years ago. Actually about the time the Summer Olympics were in Beijing. I did a few China art lessons then but recently I was inspired to do it again this time and add several new ideas.
Take a look.


Peace-

Monday, October 1, 2012

What Is It?

This is a post I published originally in November 2010.
Enjoy--


It is shaving cream! I had too much fun doing this project with 2nd grade. I couldn't wait until they got to my room. They were going to love this technique.

The class before this one I had them practice drawing fall leaves on manila paper. The final leaves were drawn again on manila paper; and then traced with a Sharpie marker.
 The next class period we reviewed 'warm colors'. Then I sprayed cheap Barbasol shaving cream right on to the table. Most of the kids have used it to spread on a table and write in it. But I spritzed thinned tempera paint (liquid watercolor is preferred) onto the shaving cream! Right on top! They were surprised to see that move.
As you can see we laid the paper directly down on to the top of the paint/cream.
Gently we used just our finger tips to help the paper make contact with the paint. No smashing or you get a huge mess! :)
Carefully peel the paper off of the cream and lay down in a clean spot. Hold the paper with one finger and use a plastic paint scrapper (3 for $2) to "shovel" off the cream. I used the phrase "shoveling off" since it is  like shoveling snow away from you. The paper doesn't get very wet just damp so the kids can
easily carry it over to the dry rack.
Now some tips!
  • I used manila but white has a brighter color when it dries.
  • I spritzed the paper until they said "stop". They could use any combination of red, orange, yellow or brown.
  • Cheap WM spray bottles quit working after a while. So we had to use it like a dropper. Still looked cool.
  • Cleans up with a wet sponge.
  • After each print you need to recreate a bumpy texture with the cream. The paint is not suppose to cover the whole picture, just in spots.
  • You can still do this if you travel. Keep the shaving cream in an aluminum pan covered with foil and take it with you!
I originally saw this done at the KAEA Fall Conference in Hutchinson 2009. But I am sad to say I didn't get a chance to try it last year. This year 2010 I attended another KAEA Fall Conference in Manhattan on printmaking and this was shown again. I just love those KAEA teachers and how they share their work!
Give it a try, you'll like it, I promise!

Peace-

Thursday, January 26, 2012

January

In January I was so ready for snow! We have hardly had any at all this winter. We still haven't and it is almost February. It didn't keep kinder from drawing and making polar bears.
P is for polar bears.


I tried to have 1st grade add a little blue or lavender to their snowy pictures of snowmen. It was the first time we attempted to add a color to make it look more like a sphere. Most didn't turn out quiet this well, sorry to say. But I realized a lot of kids color a circle the same way the color a rectangle or square. Across. So the snowmen didn't keep their nice round shapes much. The few that did do well seem even more special since the rest had such a hard time.
 For the sky we talked about the Northern Lights. I didn't realize it but we were having sun flares that made the Northern Lights really shine this week. But when one of my third grade classes went out with a bang Tuesday I blamed that on the sun flares too. It really does cause a disturbance in the air. So it makes sense right?


Next January means "Kansas Day". Kansas is 151 years old. So I did a couple of quick lessons with our Kansas symbols. Sunflowers are the state flower. When everyone else is doing them in August and September we wait until January. I didn't get very many pictures of the few we made, but these are 4th grades interpretation of sunflowers.
Lastly we have the 2nd grades primary and secondary collages. A few construction paper crayons to add some more detail and we have a finished project.
Aren't these nice?

Peace-

Saturday, October 22, 2011

Horse Ofcourse!

Yes that is what I had to say when someone asked what is suppose to be.
Second grade did a painting of a horse and barn etc. We always do practice drawings then go on to the finally project. It really gives the kids a chance to make goofs and retry as much as then need. Then on the next day, which luckily is the after tomorrow, we start the final project. I really like the fact that I see the kids twice as much in a year, but I use so many more lessons and supplies it made a big dent in me. I mean my stash. Anyway even if I only saw them once or twice a week I still took the time for some lessons to practice draw when we were learning.
This time I did have a couple of new kids that still had "I can't do it" excuses but I finally won them over to "I'll try it first" side. Here are the results of our hard work.


Some kids drew theirs on the left side I promise! Not all of them are right side. Hummmmm, wonder if they are all right or left handed ? I will have to check that out Monday.
Peace-

Wednesday, March 9, 2011

For Kids Artist, fairy tale project.

For my fellow blogger at Kids Artist here is a picture of my "Princess and the Pea" project. After I read one or two versions of the story and look at the illustrations we make this project with these few supplies:
  • 6x18 white paper
  • 2- 3x18 brown pieces
  • dried split pea to glue at the bottom
  • Markers, crayons
  • glue

We used lots of patterns to make all of the layer of mattresses that the princess slept on. Kept the two pieces of brown paper together while we cut the edges to make the bedposts. By the way this is my example, second grade didn't do as fancy of craving along the bedposts.
Peace-

Tuesday, November 23, 2010

Whooo, Whoooo-


Second grade has been done with their mixed media owls for a few days but I have been way too busy. I am not sure I am really ready now either, because I couldn't find all of the pictures I thought I took. But here are the two I did find.
We used oil pastels and I followed Kathy Barbros lesson from Art Projects for Kids to draw the owls with the kids. I really liked the idea of making a pattern for the first step.
We used a piece of manila paper folded in half. Then we drew, on the folded edge, half of our owl. The most common mistake was making the head dip like a heart in the center. So once they got the pattern cut out we practiced drawing the eyes, beak and wings. I had the students do a little more in the wing area to create some extra contrast from the body.
When they were happy with the results they traced the pattern onto a light gray 9x12 piece of paper. We used oil pastels and colored layers of them to create new and different colors for parts of the owl. We had owls of all types and colors. I was a little leery about some of the kids color choices but I was pleasantly surprised at how pink blended with brown or gray. hehehe
The next class we painted black tempera trees and let them dry. When they were dry we added oil pastel to create texture and highlights. Most of the students made theirs be a "night owl" so they drew or cut paper to make a moon and stars. 
I finally had my indispensable Mrs. Mansil hang these today, but I forgot my camera. So one of these days I will post some more.

Boy do I need a break. Last week wore me out! I finally got home Saturday night to stay. At least we only had two days of school this week. I can relax and catch up on my sleep and give my brain a rest of sorts.
Have a wonderful Thanksgiving and be safe!

Thursday, October 21, 2010

Something to Crow About!

I just think these are hysterical! OMG I don't care if we all did the same thing these crows have personality plus!
I found some crow projects but they seemed too complicated or boring. So I adapted one of the projects from DTLK. Originally I did the project with one of my 2nd grade classes, then my sub came in the next day to do it with the other two classes. She fell in love with them too and even made one to take with her!
Here is how I made ours. Fold 2 9x12 sheets of paper in half; trace your hand on each piece and cut out. We traced a rain drop for the body, and a circle for the head and cut those out too. Two hands make the wings, two hands for a tail. The "top" feathers are pieces we cut from between the fingers of the black paper. We added a beak and some wiggly eyes and poof! We had crows.
But it needed something......
I decided to use "Something to Crow About" as the title but it didn't really make sense until I had the kids write a couple sentences to put with it. I asked them to write something they had done recently that they were proud of.  Some of the kids wrote things like:
     "I cleaned my room."
     " I am reading a chapter book."
     "I got a 100% on my spelling test."
     " I was voted to be captain of the cheer squad."
Of course I didn't change any spelling or help them with it unless they specifically asked how to spell ---. They did awesome! I am proud of these guys!

Wednesday, October 6, 2010

Revealed!

Revealed!
Here is the result of the painting lesson I gave you a peek of the other day.
I just love the way my 2nd grade did on this project!  Since this picture we have added drawings of things around the camp and mini canoes. I am having so much fun!